Resources:
NSX-T Data Center Installation Guide
https://docs.vmware.com/en/VMware-NSX-T-Data-Center/2.4/installation/GUID-3E0C4CEC-D593-4395-84C4-150CD6285963.html
You need to go through the NSX-T Data Center Installation guide.
https://docs.vmware.com/en/VMware-NSX-T-Data-Center/2.4/installation/GUID-3E0C4CEC-D593-4395-84C4-150CD6285963.html
The first thing to do while installing NSX-T 2.4 unified appliance is to download the appropriate OVF file from VMware portal.
Next, verify the checksum and make sure the file integrity is not compromised during download.
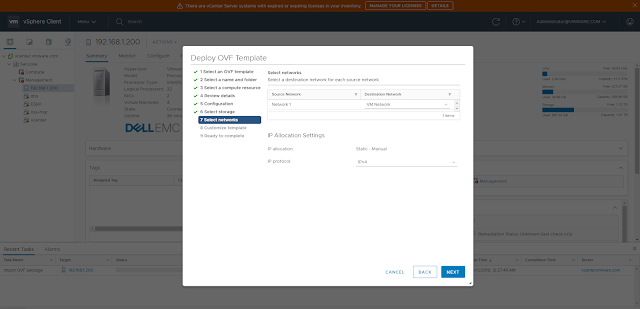
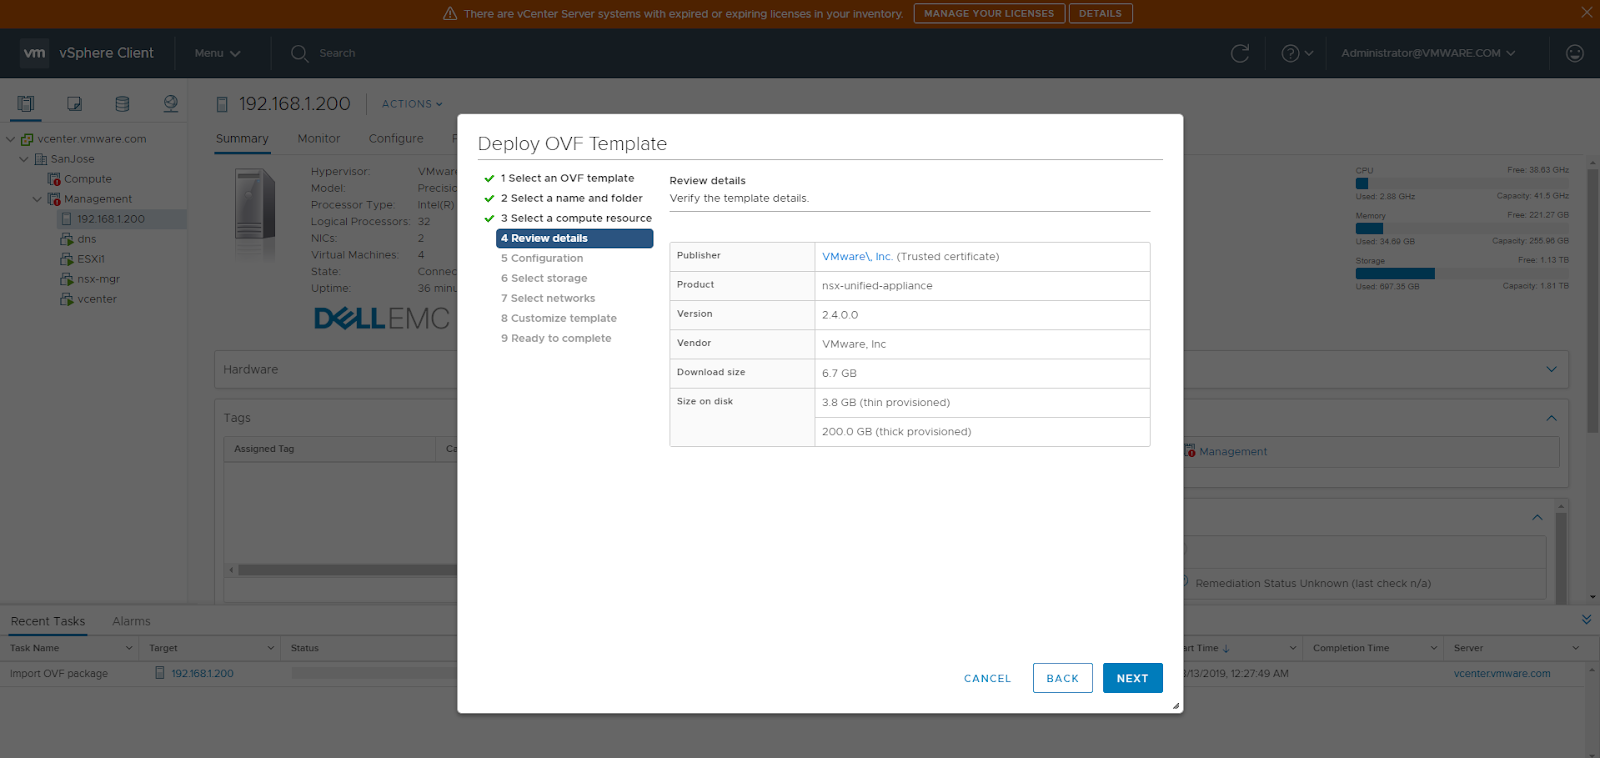
Next, deploy the OVF from vcenter server.
Select appropriate Data Center
Select appropriate compute resource.

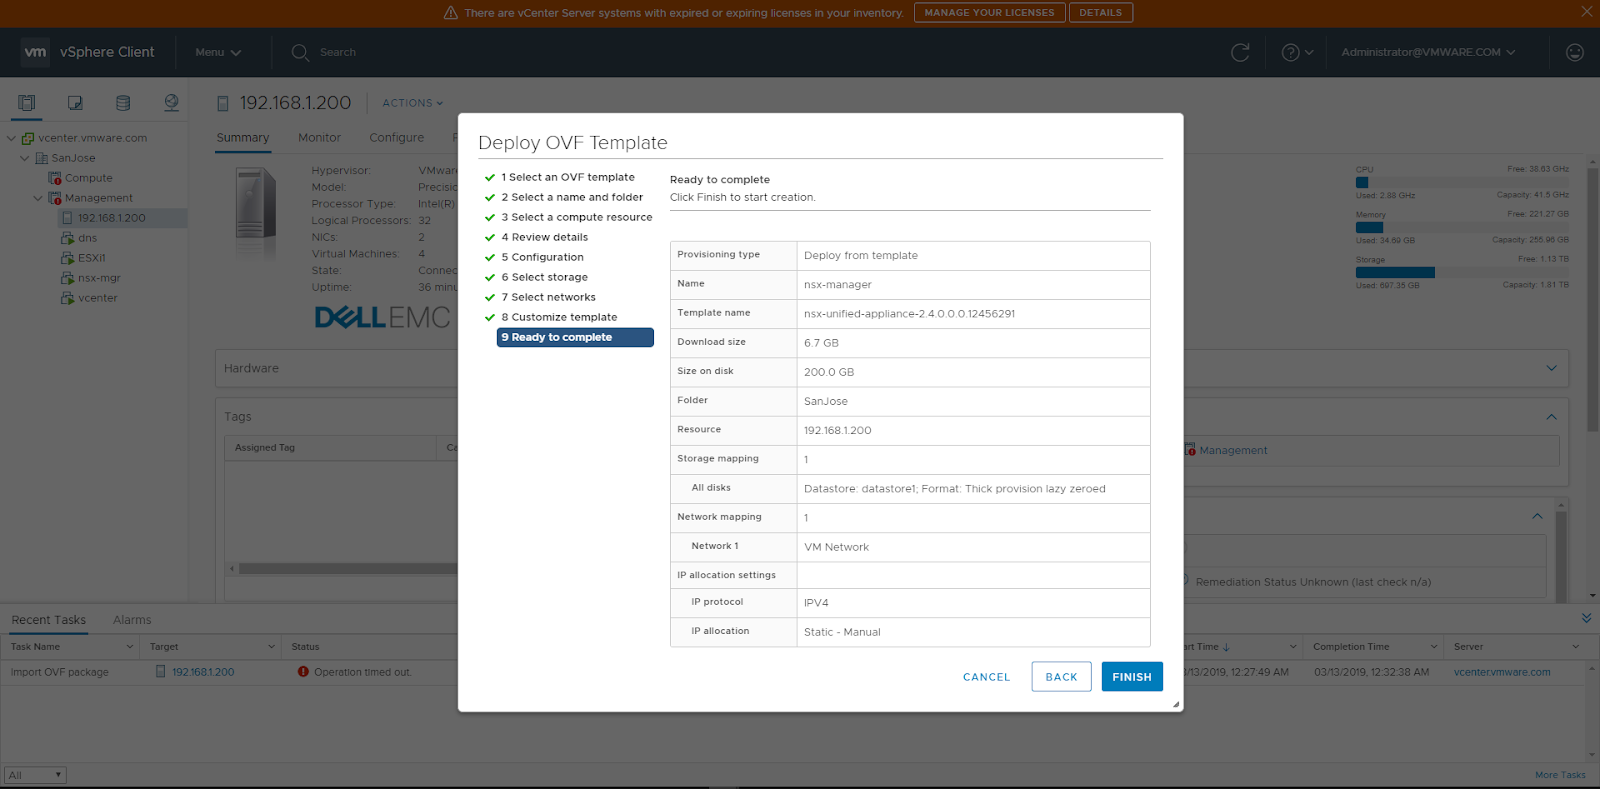
Review the details before proceeding to the next step
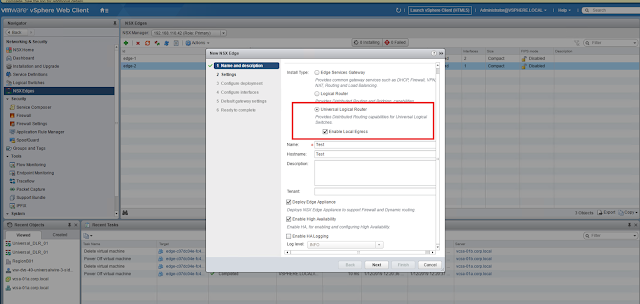
Select appropriate deployment configuration
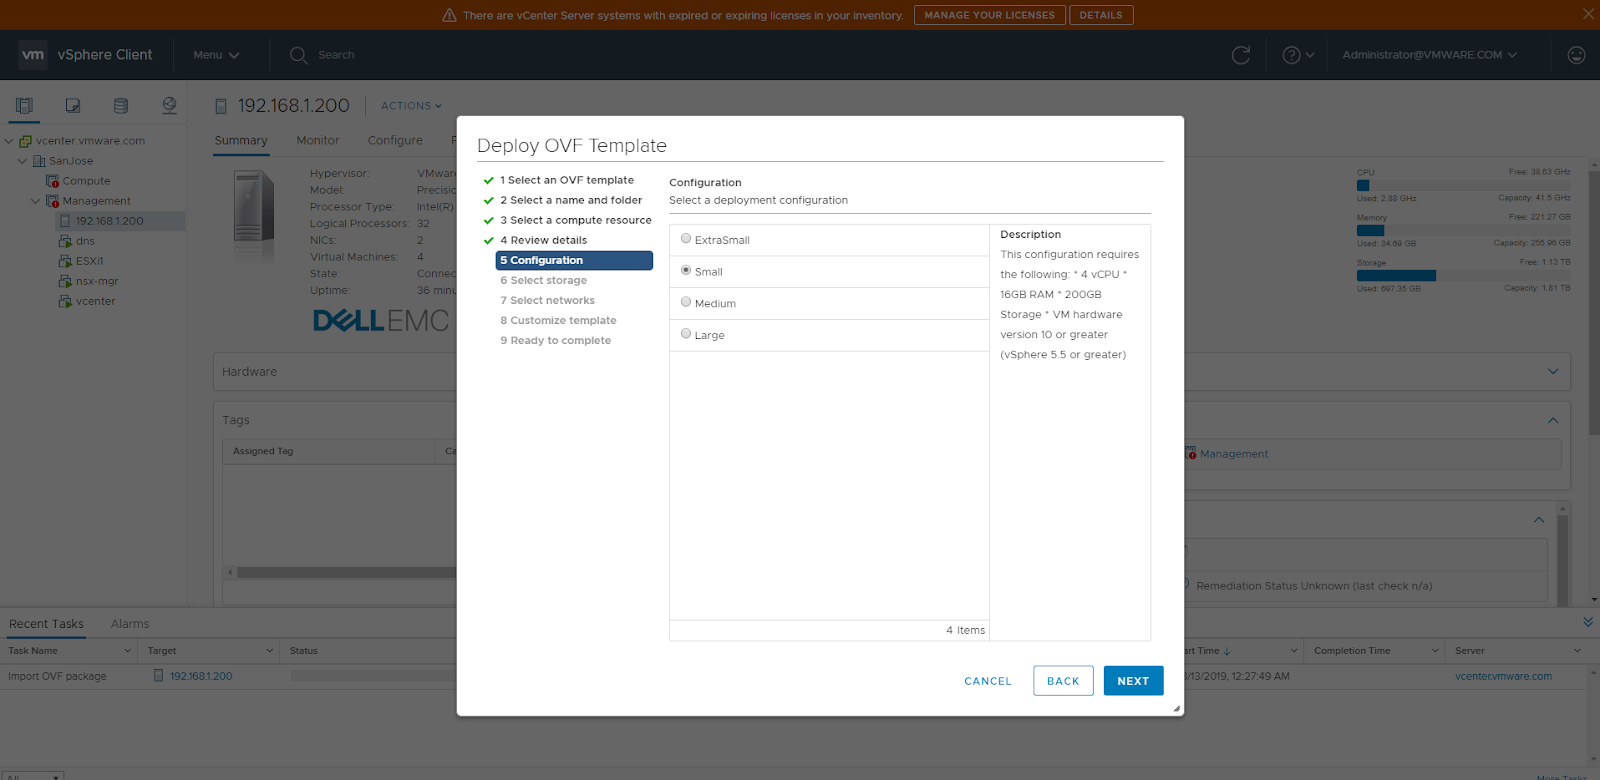
Note:NSX Manager Small VM is suitable for lab and proof-of-concept deployments.
https://docs.vmware.com/en/VMware-NSX-T-Data-Center/2.4/installation/GUID-AECA2EE0-90FC-48C4-8EDB-66517ACFE415.html


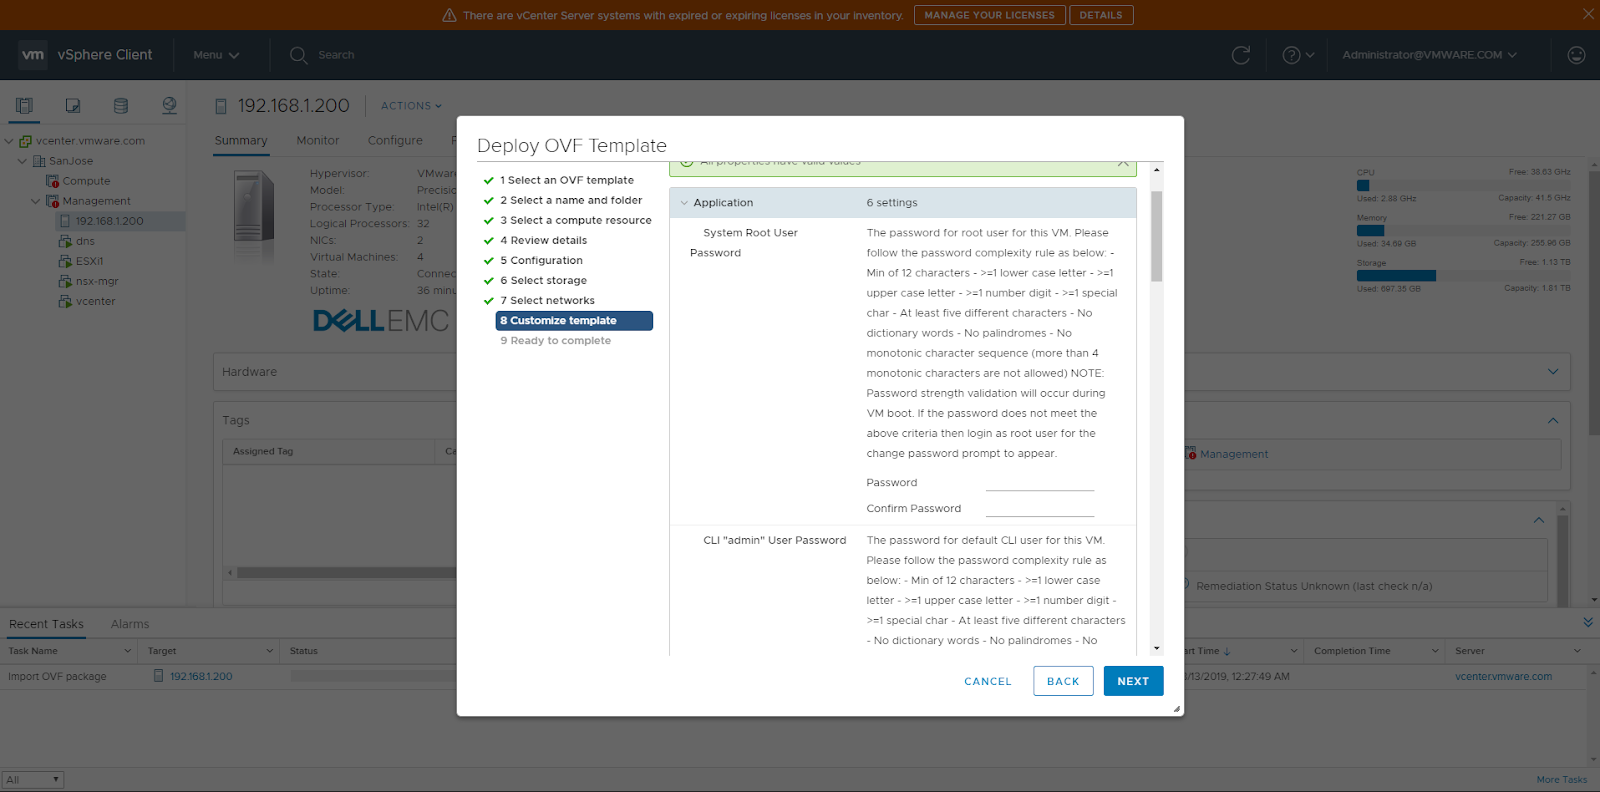
Here you will specify
– System root user password
– CLI “admin” user password
– CLI “audit” user password
– Hostname
– IPv4 gateway
– IP address
– Netmask
– DNS server IP address
– Domain search list
– NTP server list
You can also enable SSH access to the unified appliance.
After this OVF will be imported by vcenter server and deployed.
Next, ensure that the new VM for NSX-T Manager is powered up.
Give it some time and then you will be able to log in to the manager.
As you can see in the picture below, you are presented with an option to scale up the NSX-T manager platform.

=====================================================================
Now let’s scale up the single node management & controller node to a 3 node cluster.
Click on Add Nodes
Select the compute manager which is vcenter in this case and also enter appropriate credentials.
Specify appropriate name, cluster, host, datastore and click on Finish
Click on ADD NODE to add one more third node to the management & control plane.
The installation will next transition through following steps and eventually the sync will complete.